How to Clean Downlights
Ensure that the safety lights are powered off before cleaning; otherwise, the 220V current running through the body can be uncomfortable and pose a danger to life. Additionally, exercise caution during the cleaning process, especially with lamps made of crystal or glass, as they are fragile and can easily injure hands. It is advisable to wear gloves.
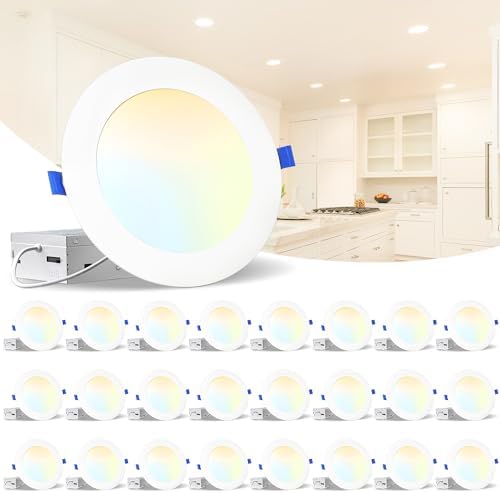
When cleaning lamps, be careful to avoid falling and bumping. The electromagnetic field formed around the bulb during operation attracts dust and particles, making it challenging to clean over time. To simplify the process, add some vinegar to water, soak a rag in the mixture, wring it dry, and then wipe the light bulb. Keep children away during cleaning. Also, ensure the cleaning of lamp poles and holders, especially those made of iron. Use neutral cleaning agents to prevent corrosion. Wipe them dry with a rag after cleaning, and make sure the bulb is dry before powering up.
To protect light bulbs, consider using light bulb covers to reduce dust and flying insects. When selecting a cover, avoid those with poor heat dissipation and completely sealed designs. Install the lampshade securely to prevent it from falling. While these cleaning and maintenance tips can make the process easier, remember to cut off the power before cleaning and wait for the lamps to dry before turning it back on.
Downlight Installation
-
Refer to the downlight’s manual to determine its size and the corresponding ceiling opening dimensions. If unsure, consult “Downlight Installation Specifications and Corresponding Hole Dimensions.”
-
Use a measuring device to mark a circle on the ceiling based on the opening size and use a small hand saw to cut the hole. This step requires skilled technique to avoid damaging the ceiling. For a more aesthetically pleasing result, consider hiring professional lighting installers.
-
Connect the reserved power cord in the ceiling to the downlight following the electrical specifications.
-
Adjust the wing nut of the fixed reed on the downlight to match the ceiling thickness, then insert the spring snap of the downlight vertically into the ceiling hole.
-
Unfold the spring clips on both sides of the downlight, secure it to the back of the ceiling, and replace the bulb to complete the downlight installation.
Downlight Disassembly and Replacement
-
Disconnect the leakage switch and exercise electrical safety precautions during disassembling and assembling electrical appliances.
-
Remove the downlight bulb to prevent breakage during disassembly.
-
Based on the above installation method, pull down the downlight forcefully to remove it, as it is fixed with spring clips and barbs.
-
Disconnect the downlight from the power cable, then replace it with a new one following the installation method mentioned earlier.