
How to Install and Use a POS Machine: A Step-by-Step Guide
1. POS Machine Installation
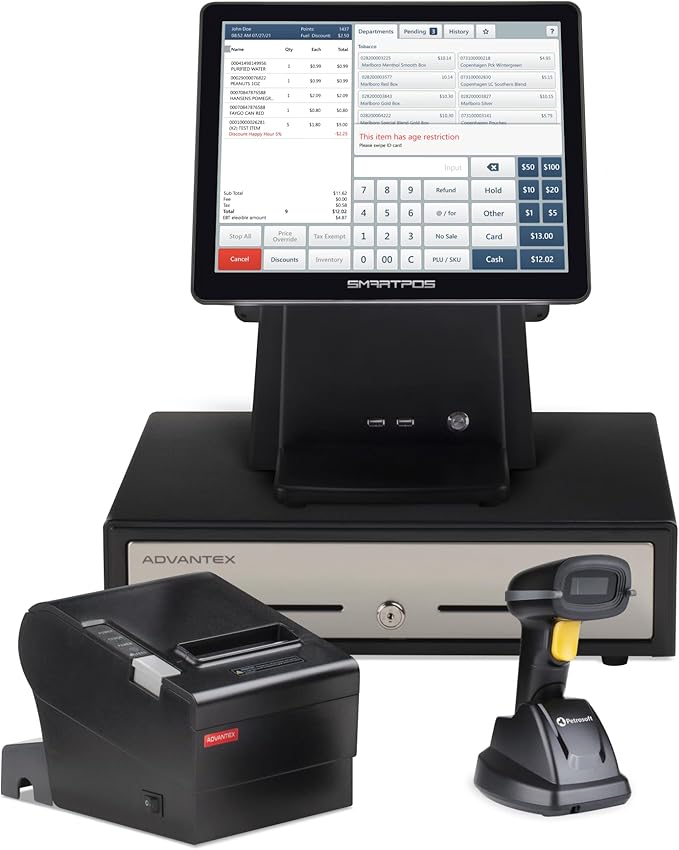
(1) Hardware Installation:
- Connect the Keyboard and POS Machine: Plug the built-in power adapter into the POS machine to ensure it’s powered.
- Connect the Receipt Printer: Use a data cable to link the receipt printer to the POS machine’s print port. Then, connect the cash drawer cable to the printer, ensuring the power adapter is plugged in.
- Set Up the Card Reader: Attach the card reader to the POS machine via a data cable and plug in its power adapter.
- Network Connection: Insert the network cable into the LAN port on the POS machine to ensure internet connectivity.
(2) Software Installation:
- Install the POS System:
- Insert the company’s GHO system CD to boot the POS machine.
- Boot into the PE system and partition the hard drive of the newly purchased POS machine.
- Once partitioning is complete, transfer the GHO installation file to the D: drive.
- Launch the hard disk installer (OneKey Ghost) to restore the C: drive. Once the restoration finishes, the system is ready to use.
- Configure the System Settings:
- After logging into the desktop, press the right mouse button to open the Task Manager and end the “Dynapostouch” program.
- Clear the startup items and change the computer name to the POS machine number as set in the backend.
- Adjust the IP address to match the designated test address and restart the machine.
- Install the Receipt Printer Driver:
- Install the receipt printer driver and then adjust the printing preferences. Click Advanced Settings, change the paper size to the maximum, and set the cash drawer to pop open before printing.
- Install Microsoft .NET Framework 2.0:
- After the installation is complete, proceed to install the Lunge Cash Register System by double-clicking “Holunge Cash Register System.exe.” Follow the installation prompts, set the installation path to D:\hlg, and click Next until the process completes.
- Once the system is installed, open the installation directory, find the file “Data Transfer Setting.exe,” and open it.
- After logging in with the admin password, update the POS machine number to match the number in the backend and restart the computer.
- Finalize System Update:
- Upon restarting, the POS machine will automatically update and download necessary files. Once the process is complete, test the operator credentials using the prepared password card to ensure proper functionality.
2. How to Use the POS Machine
- Make a Call:
- When the screen displays the prompt “Please swipe or insert IC card,” users can lift the POS machine handle and use it as a telephone.
- Process Transactions:
- To start a transaction, press the Menu/Letter button on the POS machine. The transaction menu will appear on the screen, along with corresponding operation prompts. Follow the on-screen instructions to complete the transaction with the customer.