
How to Use the Rebar Scanner
Step 1: Preparation
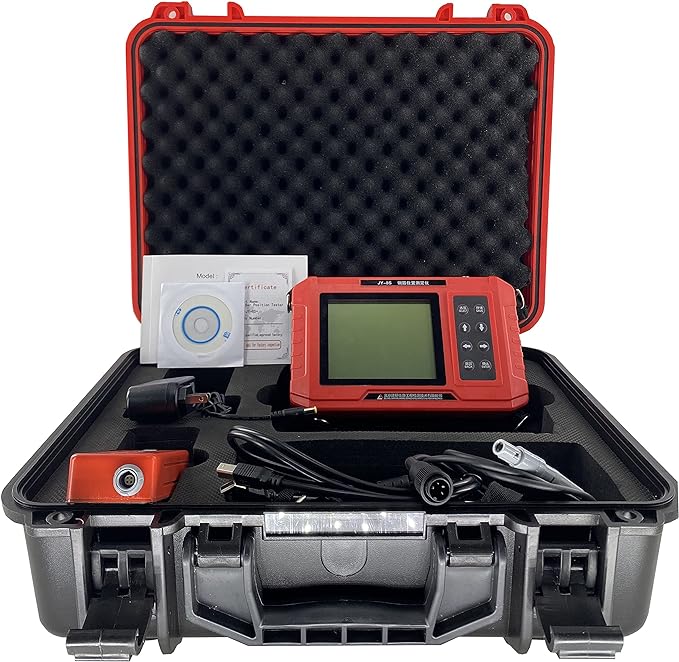
Before using the rebar scanner, remove it from the chassis to ensure it is in good condition. Then, connect the probe, host, and scanning trolley to ensure normal usage.
Step 2: Review Engineering Design Data
Before scanning the steel bars, the inspector needs to determine their position, direction, and diameter. This information helps compare the detected steel bars to the design specifications, ensuring they meet requirements. Reviewing engineering design data is essential for this step.
Step 3: Determine the Inspection Area
Since engineering buildings often use numerous steel bars, inspectors cannot check them all. Instead, they must determine the inspection area before conducting random checks.
Step 4: Rebar Detection with the Scanner
The typical detection order with the rebar scanner includes identifying the main reinforcement’s position and orientation, followed by detecting stirrups and the protective layer and diameter of the reinforcement. Throughout this process, inspectors must maintain strict inspection records.
Step 5: Conclusion and Instrument Recovery
After completing the inspection, return the instrument to its case in good condition and place it back where it belongs. Finally, report the inspection results and assess the construction project’s quality.
Maintenance of the Rebar Scanner
Regularly calibrate the rebar scanner and archive calibration records. Designate a responsible person for instrument calibration.
Monthly maintenance should adhere to specified items, with records kept of each maintenance check.
If any issues arise during use, immediately notify maintenance personnel and report to superiors detailing the problem and its cause.
Adhere to regulations for regular calibration by the standard measurement department.
Clean the scanner monthly, focusing on the shell and surface. Use alcohol for cleaning, ensuring it does not enter the instrument. Afterwards, use a clean dry cloth to absorb any liquid and maintain cleanliness.
Store the scanner in a location meeting specific conditions: no corrosive gases, no direct light, clean environment, and a flat surface.
Cover the scanner with a cloth after each use to prevent dust from entering.
Always unplug the power connector after use.
Do not disassemble or adjust the scanner arbitrarily.
Ensure shock-proof and waterproof measures during transportation or testing.